healthchecks
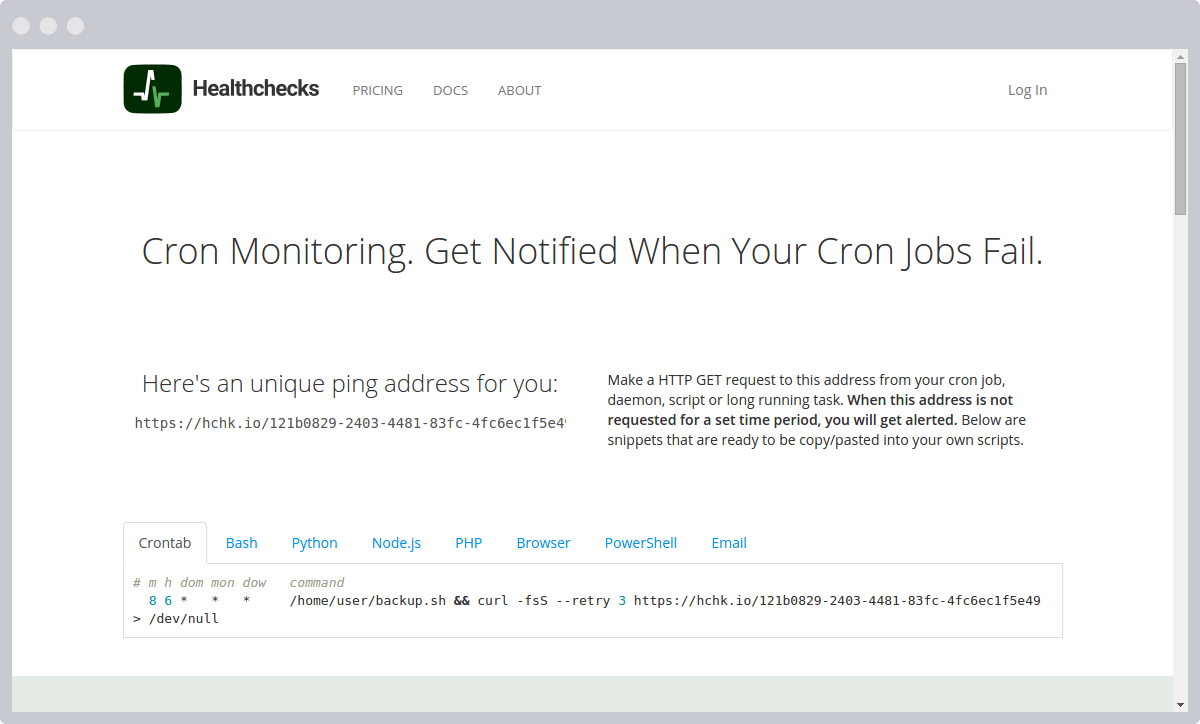
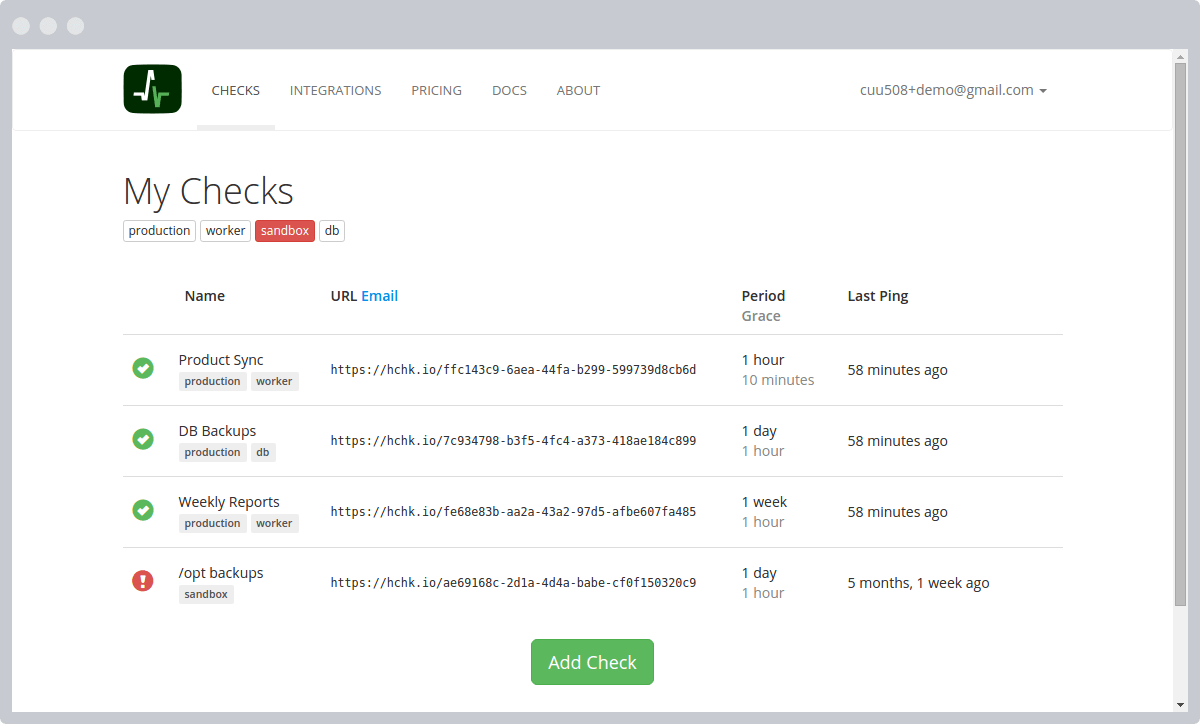
healthchecks is a watchdog for your cron jobs. It's a web server that listens for pings from your cron jobs, plus a web interface.
It is live here: http://healthchecks.io/
The building blocks are:
- Python 2 or Python 3
- Django 1.9
- PostgreSQL or MySQL
Setting Up for Development
These are instructions for setting up HealthChecks Django app in development environment.
-
prepare directory for project code and virtualenv:
$ mkdir -p ~/webapps $ cd ~/webapps -
prepare virtual environment (with virtualenv you get pip, we'll use it soon to install requirements):
$ virtualenv --python=python3 hc-venv $ source hc-venv/bin/activate -
check out project code:
$ git clone https://github.com/healthchecks/healthchecks.git -
install requirements (Django, ...) into virtualenv:
$ pip install -r healthchecks/requirements.txt -
make sure PostgreSQL server is installed and running, create database "hc":
$ psql --user postgres postgres=# create database hc; -
create database tables, triggers, superuser:
$ cd ~/webapps/healthchecks $ ./manage.py migrate $ ./manage.py ensuretriggers $ ./manage.py createsuperuser -
run development server:
$ ./manage.py runserver
The site should now be running at http://localhost:8080
To log into Django administration site as a super user,
visit http://localhost:8080/admin
Database Configuration
Database configuration is stored in hc/settings.py and can be overriden
in hc/local_settings.py. The default database engine is SQLite. To use
PostgreSQL, create hc/local_settings.py if it does not exist, and put the
following in it, changing it as neccessary:
DATABASES = {
    'default': {
        'ENGINE':   'django.db.backends.postgresql',
        'NAME':     'your-database-name-here',
        'USER':     'your-database-user-here',
        'PASSWORD': 'your-database-password-here',
        'TEST': {'CHARSET': 'UTF8'}
    }
}
For MySQL:
DATABASES = {
    'default': {
        'ENGINE':   'django.db.backends.mysql',
        'NAME':     'your-database-name-here',
        'USER':     'your-database-user-here',
        'PASSWORD': 'your-database-password-here',
        'TEST': {'CHARSET': 'UTF8'}
    }
}
You can also use hc/local_settings.py to read database
configuration from environment variables like so:
import os

DATABASES = {
    'default': {
        'ENGINE':   os.env['DB_ENGINE'],
        'NAME':     os.env['DB_NAME'],
        'USER':     os.env['DB_USER'],
        'PASSWORD': os.env['DB_PASSWORD'],
        'TEST': {'CHARSET': 'UTF8'}
    }
}
Sending Emails
healthchecks must be able to send email messages, so it can send out login
links and alerts to users. You will likely need to tweak email configuration
before emails will work. healthchecks uses
djmail for sending emails asynchronously.
Djmail is a BSD Licensed, simple and nonobstructive django email middleware.
It can be configured to use any regular Django email backend behind the
scenes. For example, the healthchecks.io site uses
django-ses-backend
and the email configuration in hc/local_settings.py looks as follows:
DJMAIL_REAL_BACKEND = 'django_ses_backend.SESBackend'
AWS_SES_ACCESS_KEY_ID = "put-access-key-here"
AWS_SES_SECRET_ACCESS_KEY = "put-secret-access-key-here"
AWS_SES_REGION_NAME = 'us-east-1'
AWS_SES_REGION_ENDPOINT = 'email.us-east-1.amazonaws.com'
Sending Status Notifications
healtchecks comes with a sendalerts management command, which continuously
polls database for any checks changing state, and sends out notifications as
needed. Within an activated virtualenv, you can manually run
the sendalerts command like so:
$ ./manage.py sendalerts
In a production setup, you will want to run this command from a process manager like supervisor or systemd.
Integrations
Pushover
To enable Pushover integration, you will need to:
- register a new application on https://pushover.net/apps/build
- enable subscriptions in your application and make sure to enable the URL subscription type
- add the application token and subscription URL to
hc/local_settings.py, asPUSHOVER_API_TOKENandPUSHOVER_SUBSCRIPTION_URL


